

Custom MAP Integration Guide
High level flow
Section titled “High level flow”A custom MAP integration comprises the following elements:
- Configuration in Knak which allows the Knak user to initiate a sync from Knak to the MAP integration
- Your custom webservice which:
- receives a webhook notification that a sync has been requested
- fetches the asset content from Knak
- performs the necessary actions to sync the asset to the MAP
- updates Knak with the result of the sync (success / failure)
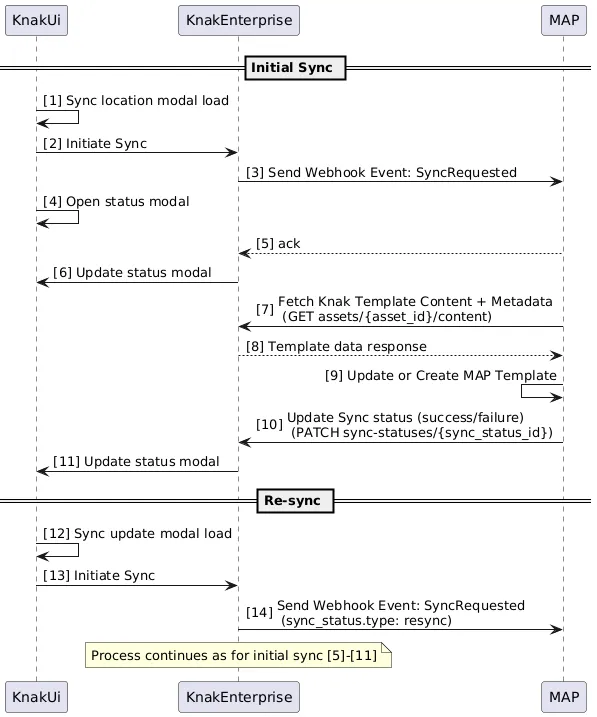
The sequence diagram below shows how user interactions (KnakUi), the Knak API (KnakEnterprise), and your webservice (MAP) interact.
Create an API User
Section titled “Create an API User”Custom MAP integrations are often server-to-server integrations, so we recommend creating an API user and using an API key for authentication.
Follow the steps at Setting up an API User, making sure to include the Download Email permission.
Authentication
Section titled “Authentication”Use the API User created earlier. You can generate a new key at: https://enterprise.knak.io/account/api-access
Learn how to use API tokens in requests: Authentication Documentation
Create a Webhook
Section titled “Create a Webhook”Webhooks let Knak trigger HTTP requests to your system.
Use this to listen for the syncRequested event, which signals that a Knak user has requested that asset content needs to be synced from Knak to your platform.
-
Open Knak Builder and navigate to Admin
-
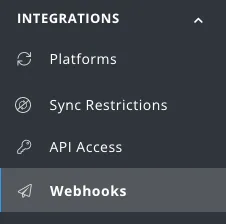
Go to Integrations > Webhooks
-
Enter a name, Payload URL, Secret, and Subscribed Events (e.g.
syncRequested) Then click Save
Create a Custom MAP Integration in Knak
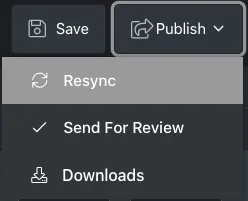
Section titled “Create a Custom MAP Integration in Knak”This allows users to sync assets to this integration from the Publish menu.
-
Open Knak Builder and navigate to Admin
-
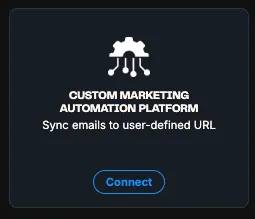
Go to Integrations > Platforms > + Add New Integration and select Connect under CUSTOM MAP
-
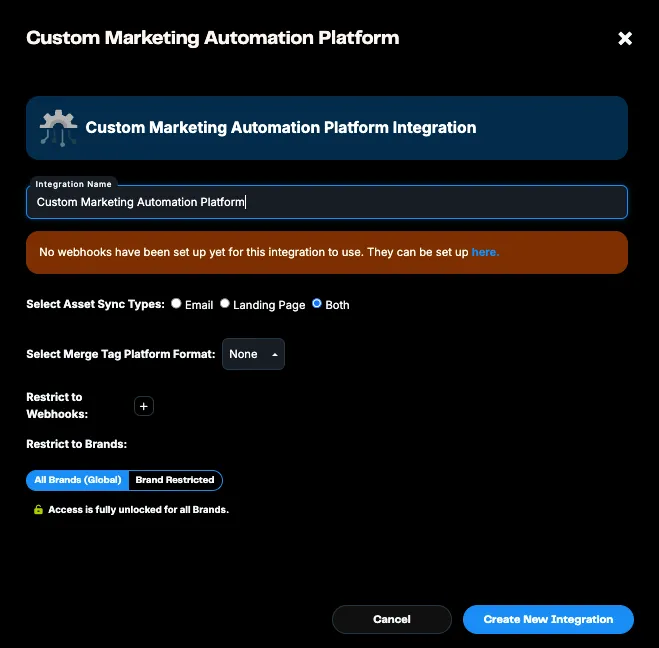
Enter:
- Integration Name
- Asset Sync Types (Email, Landing Page, or Both)
- Merge Tag Platform Format
Then click Create New Integration
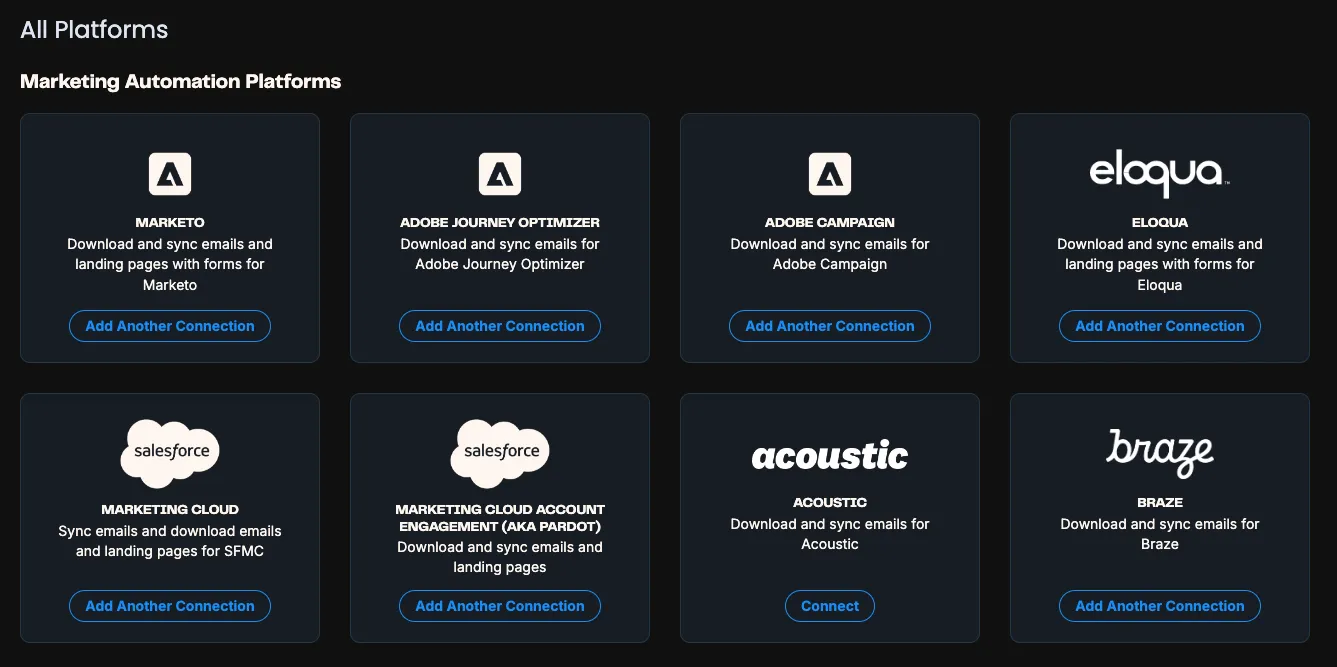
Managing Your Integration
Section titled “Managing Your Integration”After setup, manage your connection in My Platform Connections from the Integrations page.
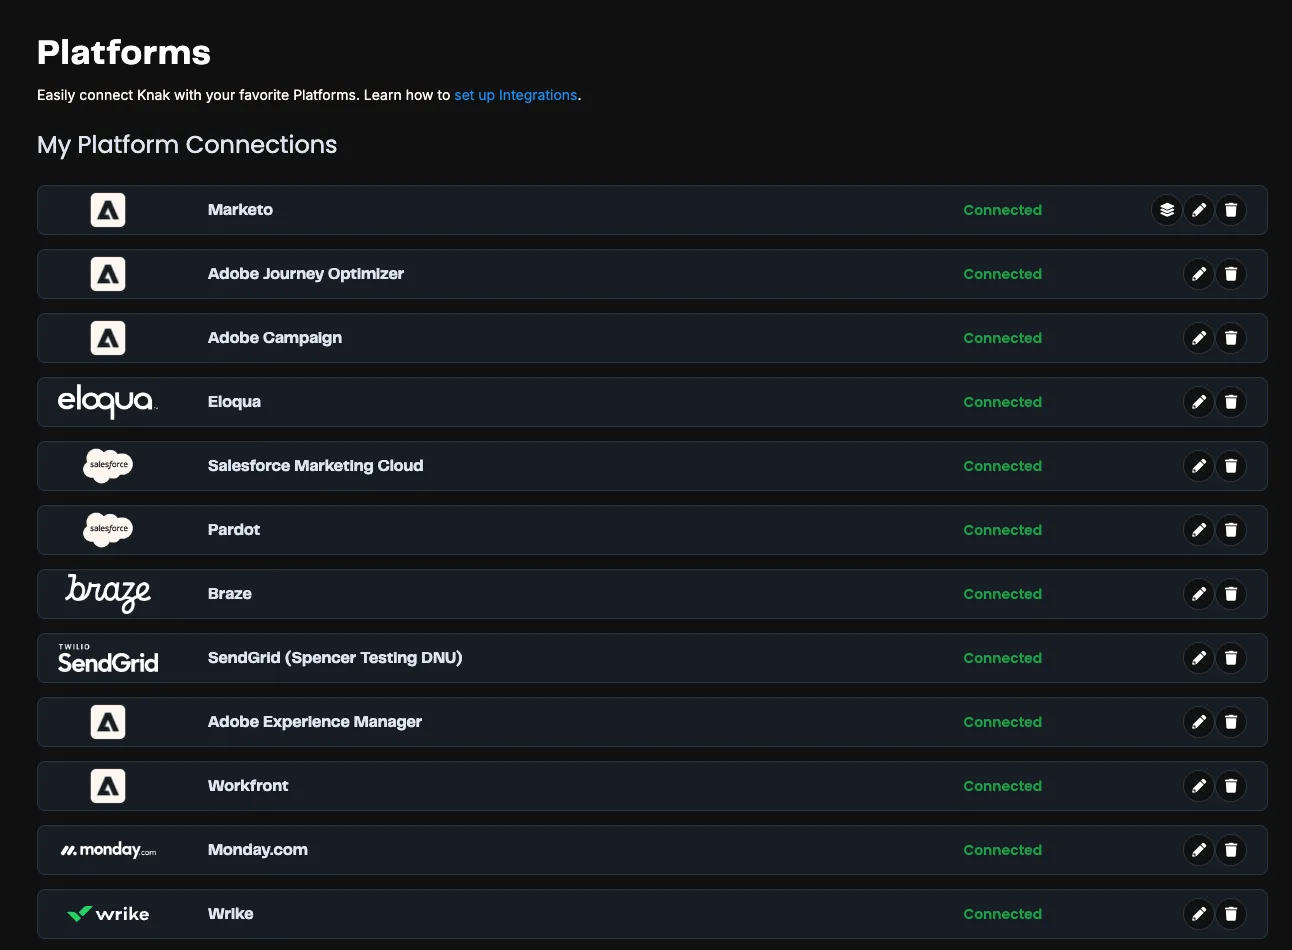
To add/re-add integrations, scroll to All Platforms and click Connect or Add Another Connection.
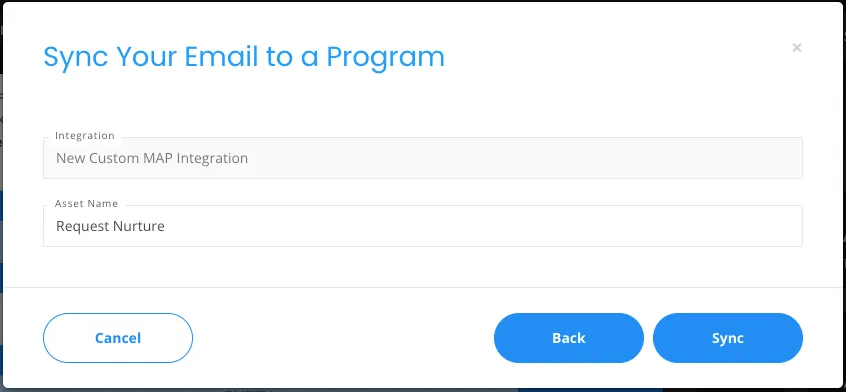
Sync an Asset
Section titled “Sync an Asset”Now let’s sync an asset via Knak’s public API. This includes using webhook payloads and sending requests with responses.
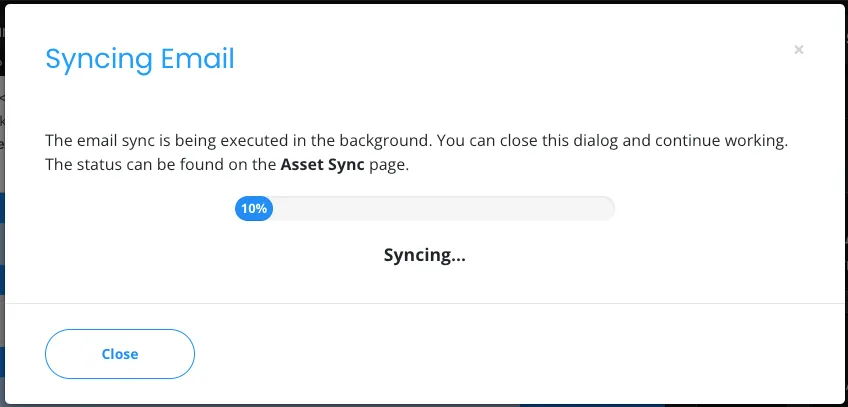
Sync Requested Webhook
Section titled “Sync Requested Webhook”Once a sync is initiated, the syncRequested webhook sends a payload.
Learn more: Webhook Documentation
Verifying Webhook Payload Authenticity
Section titled “Verifying Webhook Payload Authenticity”Verify the HMAC SHA256 hash of the payload using your secret, then compare it to the Knak-Signature header.
Fetch Asset Content
Section titled “Fetch Asset Content”GET request to the content_link URL returns:
- Metadata
- HTML content
- Plain text content
You can pass a platform parameter to format the content accordingly.
Example Request:
GET https://enterprise.knak.io/api/published/v1/assets/609d7ce223411/contentRequest Parameters
Section titled “Request Parameters”| Parameter | Required | Example | Description |
|---|---|---|---|
| platform | No | Marketo | Converts merge tags to platform syntax |
Response
Section titled “Response”Learn more about the content response: Get Asset Content API
Update Sync Status
Section titled “Update Sync Status”After processing the asset, update the sync status in Knak.
Example PATCH request:
PATCH https://enterprise.knak.io/api/published/v1/sync-status/609d7ce223411More info: Update Sync Status API
-
When setting status to
completed, include:map_id(your internal asset ID)map_url(URL shown in Knak for re-sync)
-
When setting status to
failed, include:error_message(shown in UI and logs)
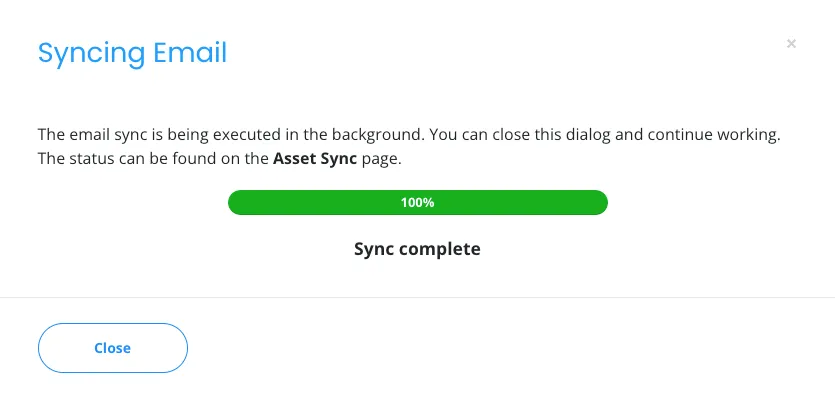
Completed UI State
Section titled “Completed UI State”UI updates when status is set to completed.
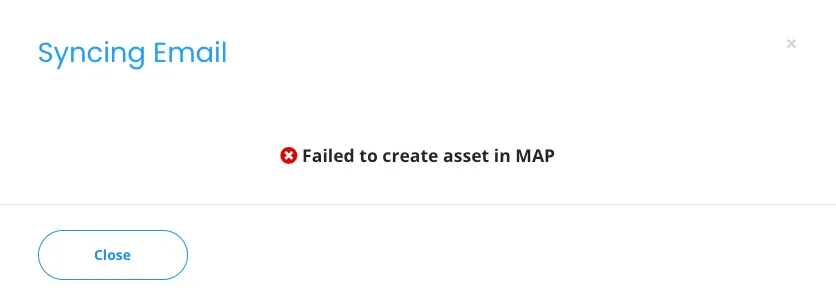
Failed UI State
Section titled “Failed UI State”UI updates when status is set to failed, displaying the error message.
Next Steps
Section titled “Next Steps”That’s it! You’ve configured a custom platform integration. Refer to our API documentation for more details.
Need help? Reach out via the chat bubble in Knak or email support@knak.com.